Heat your home with a DIY passive solar heater
Sunshine is free, so why not try to keep warm with it? Follow these steps to make your own heater
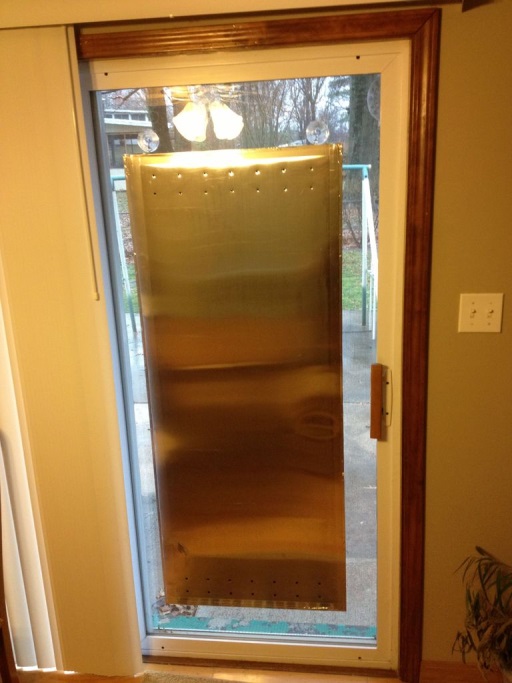
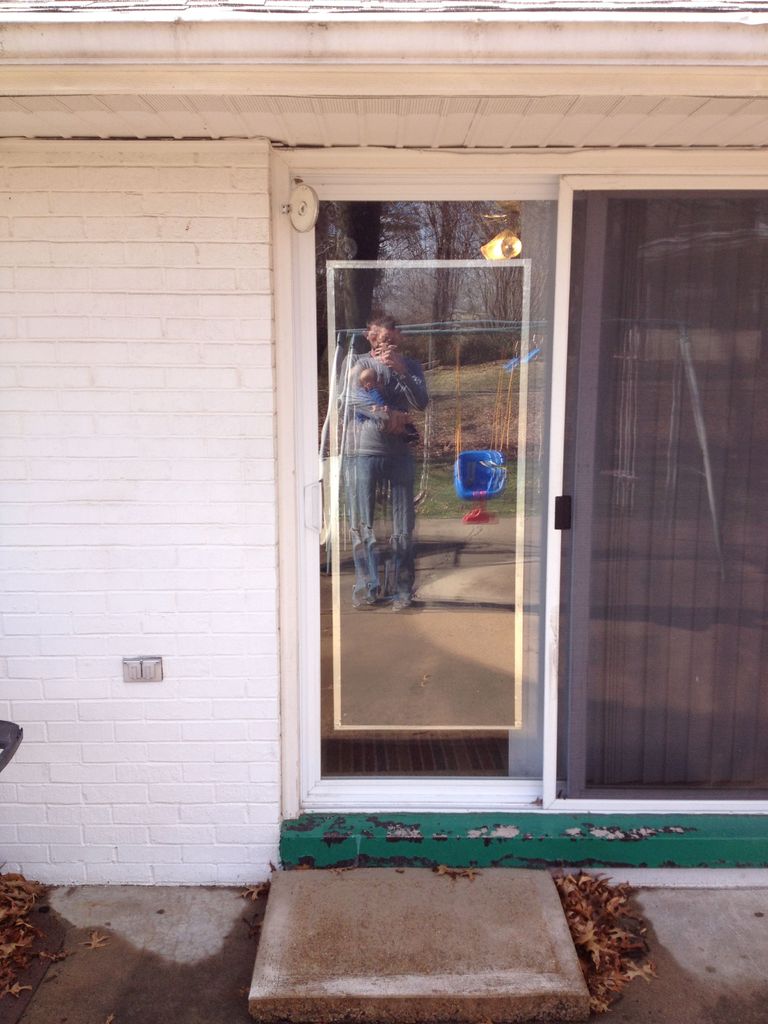
Do you enjoy coming home to a warm home in the dead of winter? Do you leave your furnace running in cold weather even if no one’s home? If you want to keep the house warm for when you return later in the day, you can follow these steps to make yourself an unobtrusive passive solar heater, which runs on free heating coming directly from the sun. It may be summer now, but in a few short months, winter will come, so why not prepare in advance? Originally shared on Instructables, the solar heater is most beneficial when mounted to a door or window that is regularly and thoroughly exposed to sunlight throughout the day. However, the instructions can be adapted to fit different sizes and configurations.
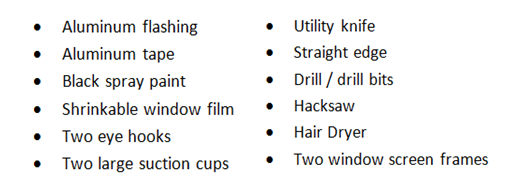
Materials Needed:
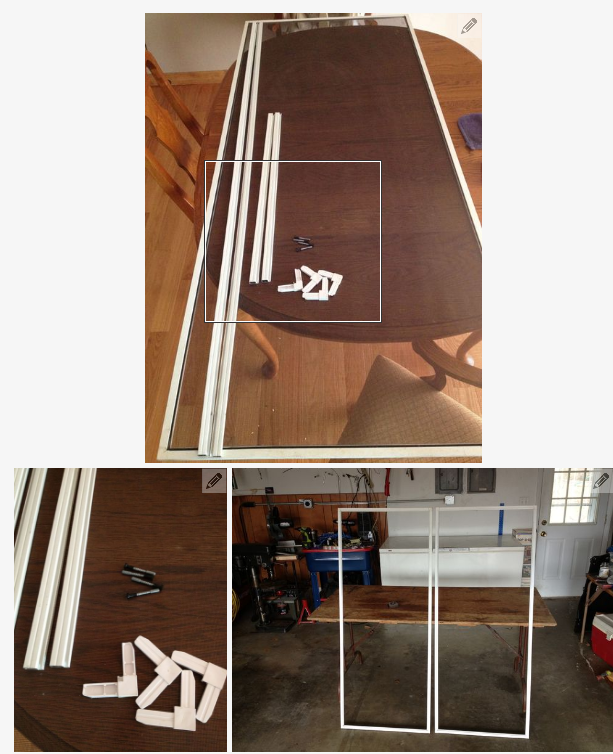
First, prepare the frames for the project. Dustin Rogers, whose project is featured in this article, purchased 24” wide flashing but only had screens that were 30” wide – wider flashing should be available for your usage.
Following Rogers’ instructions, remove the screen material by pulling the black rubber strip out of its frame and set it aside afterward – there’s no other use for it in the project. Taking note of the length of the plastic elbows that hold the frames together, cut the frame pieces with a hacksaw. You’ll need to cut them down to the length needed for the width of your flashing, keeping parallel frames at the same length. Once these are cut, rearrange the frame by pushing in corner pieces.
When preparing to attach the aluminum flashing, stay alert of its sharp edges, which can easily cut you. Mark your flashing length for two identically sized pieces and run your straight edge through the material. The flashing should make an even break if you bend it at these markings.
Make sure you make holes in the top and bottom of the heater’s back panel before attaching the flashing. Placing scrap wood under the flashing, drill holes evenly apart. Rogers made 14 holes on each end of the back piece.
Ensure your aluminum tape has no wrinkles before using it to attach the flashing to the frame. On the side of flashing that doesn’t have holes, roughen the surface with sandpaper, giving the spray paint something to adhere to later in the process.
After coarsening the surface, paint the front panel black. You may need to apply more than one coat to reach even coverage.
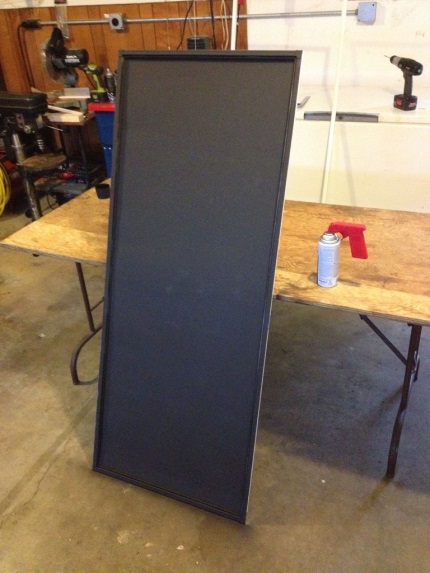
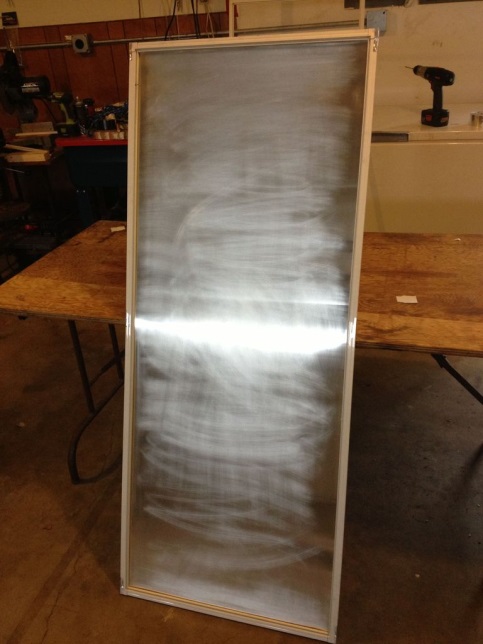
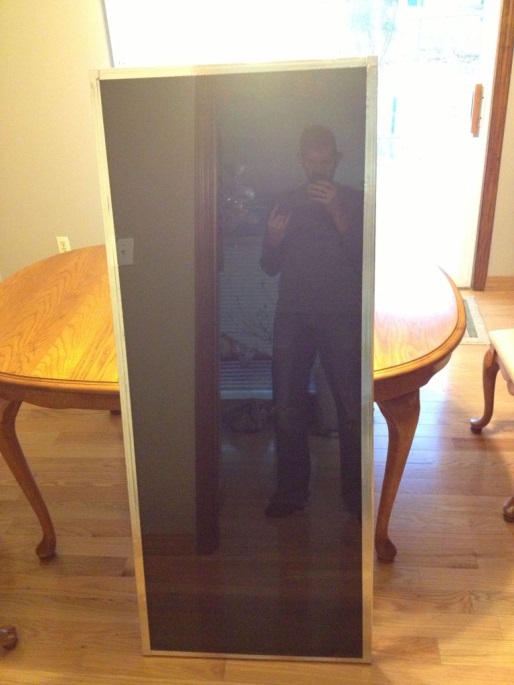
Next, lay your back panel flat with the flashing’s side facedown. After laying the front panel on top of it, attach the two frames with aluminum tape. Using double-sided tape around the face of the frame, lay your window film over the frame. When the film is in place, use a hair dryer to shrink and tighten it. Rogers also put on an additional layer of aluminum tape to tidy up the look of the frame.
The next step in the process involves finding a spot for the device and installing its hooks. Consider factors like the size and orientation of your heater when determining where the eye hooks should be. Drilling a small pilot hole in the frame’s top edge and screwing the hooks into the frame, hook your suction cups into the hooks. While positioning the device, make sure the suction cups are sticking properly. Your heater should now be ready to start its job!
When looking back at the project, Rogers mentioned that the difference in temperature between the intake (the lower temperature) and exhaust (the higher one) would have been more significant if he had included a layer of insulation over the heater’s back. He shared that the device in his home only showed a six to seven-degree difference after it had been in place for about 15 minutes. In this design, the heat isn’t centralized to one location, making it difficult to measure the heater’s effectiveness. The heater as is fits the description of the passive solar heating technique direct gain – solar radiation that directly penetrates and is stored in a living space. Indirect gain, which Rogers thinks would have benefitted the design, is the collection, storing, and distribution of solar radiation using thermal storage material. In the video below, he shares the final version of his heater and the temperature concerns.
Although you’d likely need to install more than one passive solar heater to heat your entire home this way, a DIY heater is ideal for use in a sunroom or a particularly chilly room.
Source: Instructables, Southface, YourHome